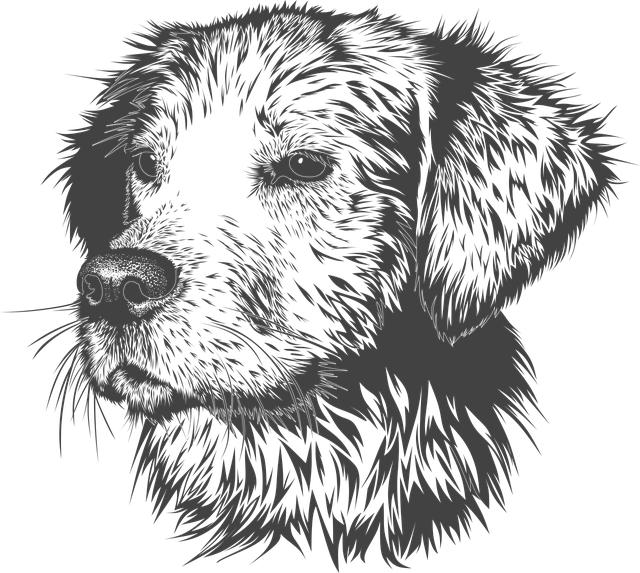
Drawing a realistic dog can be a fun and rewarding experience for artists of all levels. Whether you’re a beginner or an experienced artist, follow this step-by-step guide to learn how to draw a realistic dog with ease.
Step 1: Gather Your Materials
Before you start drawing, make sure you have all the necessary materials on hand. You will need a sketch pad, a set of graphite pencils (ranging from 2H to 6B), an eraser, a pencil sharpener, and reference photos of dogs. You can find reference photos from the internet, dog magazines, or even by taking photos of your own dog.
Step 2: Start with Basic Shapes
Begin by sketching the basic shapes of the dog’s head, body, and limbs. Use light strokes and simple geometric shapes to outline the dog’s form. Consider the position of the dog, its expression, and the angle at which you want to draw it.
Step 3: Add Details
Once you have outlined the basic shapes, start adding details such as the dog’s eyes, nose, mouth, and ears. Pay attention to the dog’s breed and specific features, as these will help make your drawing more realistic. Use a softer graphite pencil to add shading and depth to the features.
Step 4: Focus on Proportions
Pay attention to the proportions of the dog’s body as you continue to add detail. Make sure the limbs are the right length and thickness in relation to the body, and that the head is proportional to the rest of the body. Take your time with this step, as getting the proportions right is crucial for a realistic drawing.
Step 5: Refine and Add Texture
As you progress with your drawing, take the time to refine the details of the dog’s face and body. Pay attention to the texture of the dog’s fur and use various pencil strokes to create a realistic fur effect. Consider the direction of the fur and use short, quick strokes to mimic its texture.
Step 6: Add Shadows and Highlights
Once you have added all the necessary details, it’s time to add shadows and highlights to your drawing. This will give your drawing depth and dimension, making it appear more realistic. Pay attention to the light source in your reference photo and use it as a guide to add shadows and highlights to your drawing.
Step 7: Final Touches
After adding shadows and highlights, take a step back and assess your drawing. Make any necessary adjustments to ensure the proportions, details, and overall look of the dog are accurate and realistic. Use your eraser to clean up any unnecessary lines and smudges, and add any final touches to complete your drawing.
Now that you have completed the drawing, you can step back and admire your realistic dog. Practice makes perfect, so don’t be discouraged if your first attempts aren’t exactly as you imagined. Keep practicing, and with time and patience, you will become more proficient at drawing realistic animals.
In conclusion, drawing a realistic dog can be a rewarding experience for artists of all levels. By following this step-by-step guide and practicing regularly, you can improve your drawing skills and create lifelike drawings of dogs. Remember to gather the necessary materials, start with basic shapes, add details and textures, focus on proportions, and add shadows and highlights to bring your drawing to life. With practice and perseverance, you can master the art of drawing realistic dogs.


