The Ultimate Guide to Building a DIY Chicken House for Your Flock
If you’ve always wanted to keep backyard chickens, then building a DIY chicken house is the perfect way to start. Not only is it a fun and fulfilling project, but it also provides a safe and comfortable home for your feathered friends. In this ultimate guide, we’ll take you through the steps of building your own chicken house and provide tips and tricks to ensure your flock’s happiness and well-being.
Step 1: Planning and Preparation
Before you start building your DIY chicken house, it’s important to do some careful planning and preparation. First, consider the size of your flock and how much space they will need. Aim for at least 4 square feet of space per bird inside the coop and 10 square feet per bird in the outdoor run. This will ensure that your chickens have enough room to move around and be comfortable.
Next, think about the location of your chicken house. It should be well-drained and provide protection from predators and the elements. Consider placing the coop near a water source and in an area that gets plenty of sunlight. Additionally, make sure the coop is easily accessible for cleaning and egg collection.
Step 2: Choosing the Right Materials
When building a DIY chicken house, it’s important to choose the right materials to ensure the structure is sturdy and comfortable for your flock. For the frame of the coop, you can use lumber, such as pressure-treated pine or cedar, for durability. Galvanized hardware cloth can be used for the walls, windows, and doors to keep out predators, while still allowing for proper ventilation.
For the roof, consider using corrugated metal or asphalt shingles to provide adequate protection from the elements. Additionally, you will need a solid floor that can be easily cleaned, such as plywood or vinyl flooring.
Step 3: Designing the Chicken House
When designing your DIY chicken house, there are several important factors to consider. Firstly, ensure that the coop has proper ventilation to allow fresh air to circulate and prevent the buildup of ammonia from chicken waste. This can be achieved by installing windows or vents on opposite walls to create a cross breeze.
It’s also important to include roosting bars for your chickens to perch on at night, as well as nesting boxes for them to lay their eggs. Aim for one nesting box per 3-4 hens, and make sure they are elevated off the ground to prevent them from becoming soiled.
In addition, the chicken house should have a secure door to keep your flock safe from predators. Consider adding a predator-proof latch or lock to ensure that the door remains closed at night.
Step 4: Construction
Once you have a clear plan and all the necessary materials, it’s time to start building your DIY chicken house. Begin by constructing the frame of the coop, ensuring that it is level and square. Once the frame is in place, attach the walls and roof, making sure to leave openings for windows, doors, and vents.
Next, add the roosting bars and nesting boxes, and install the flooring. Make sure to secure all the components firmly to prevent any potential hazards for your chickens.
Step 5: Adding the Finishing Touches
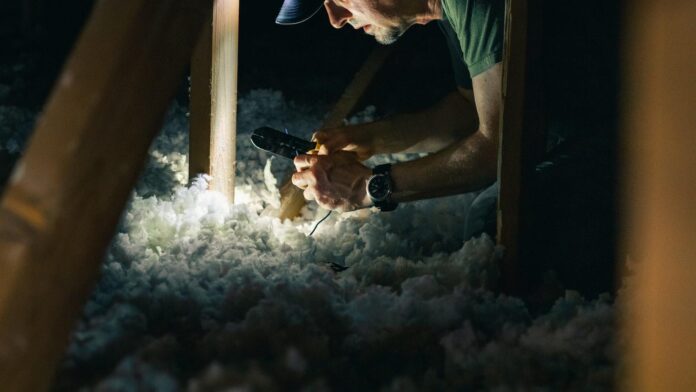
Once the basic structure of the chicken house is complete, it’s time to add the finishing touches to make it a comfortable and functional home for your flock. Consider adding insulation to the coop to regulate the temperature and keep your chickens warm in the winter and cool in the summer.
You can also add a layer of bedding, such as straw or wood shavings, to the floor of the coop to provide a comfortable resting area for your chickens. Additionally, consider adding a dust bath for your chickens to keep themselves clean and healthy.
Step 6: Maintenance and Care
After your DIY chicken house is complete, it’s important to regularly maintain and care for the coop to ensure the health and happiness of your flock. This includes daily cleaning of the coop to remove any waste and soiled bedding, as well as regular checks for any signs of wear or damage.
Additionally, provide fresh food and water for your chickens daily, and collect eggs regularly to prevent them from becoming soiled or going to waste. Regularly check for signs of illness or injury in your flock and provide veterinary care as needed.
In conclusion, building a DIY chicken house for your flock is a rewarding and fulfilling project that can provide a safe and comfortable home for your feathered friends. By carefully planning and considering the needs of your flock, choosing the right materials, and designing and constructing the coop with care, you can create a happy and healthy environment for your chickens to thrive.
Remember to regularly maintain and care for the chicken house to ensure the well-being of your flock, and enjoy the joy of keeping backyard chickens. With this ultimate guide, you’ll be well on your way to building a DIY chicken house that will provide a safe and comfortable home for your feathered friends for years to come.


